Signing and Witnessing
 Updated
Overview
Signing is the process for taking an active shared document you are the owner of, and marking it as completed. The document will not be editable anymore, but will still be available to view.
Witnessing a document is signing with further verification of the completed work by other members of the group.
Signing
To initiate signing:
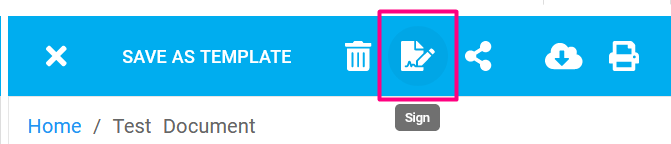
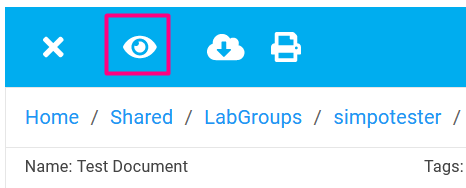
- Open the Document in View mode, and click on the Sign icon in the toolbar. The Sign button will only appear if you are the owner, and the document hasn’t been signed previously.
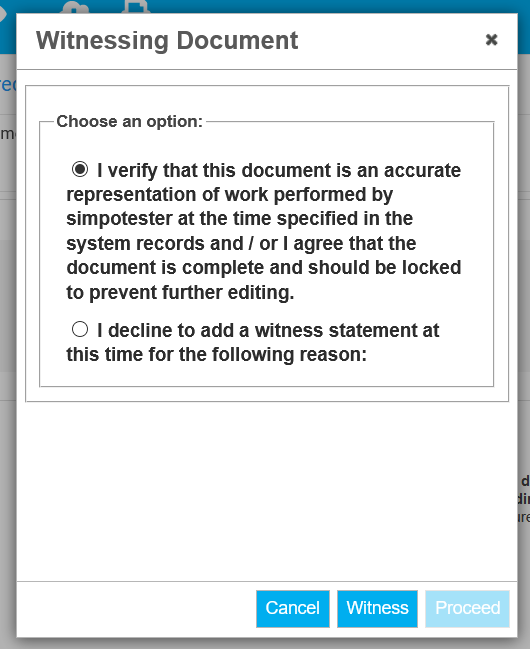
- A dialog appears, and you can:
- Select the first statement if you want the document witnessed, and choose from the list of available witnesses for the document, which will be members of your group(s). They will receive a message asking them to be a witness, with a link to the document.
By default, most users will see at least their own PI as a possible witness. If you do not see who you are expecting, or if the witness list is empty, it means that the person or people you want to act as witnesses cannot access the document. Share the document with an appropriate LabGroup or one or more users to add users to the potential witness list. - Select the second statement if you want to sign the document by yourself, without requesting witnesses. This action is equivalent to locking the content of the document, so that no further changes can be made to it.
- Select the first statement if you want the document witnessed, and choose from the list of available witnesses for the document, which will be members of your group(s). They will receive a message asking them to be a witness, with a link to the document.

- Click on Sign at the bottom

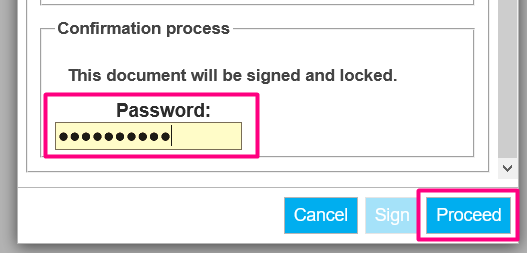
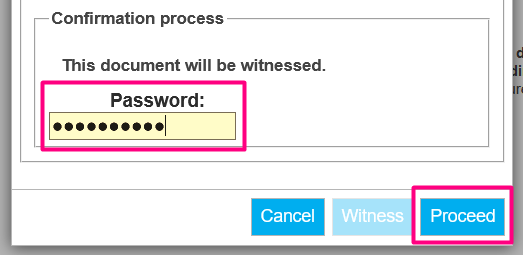
- Type in your password to authorise, and click on Proceed to complete signing.
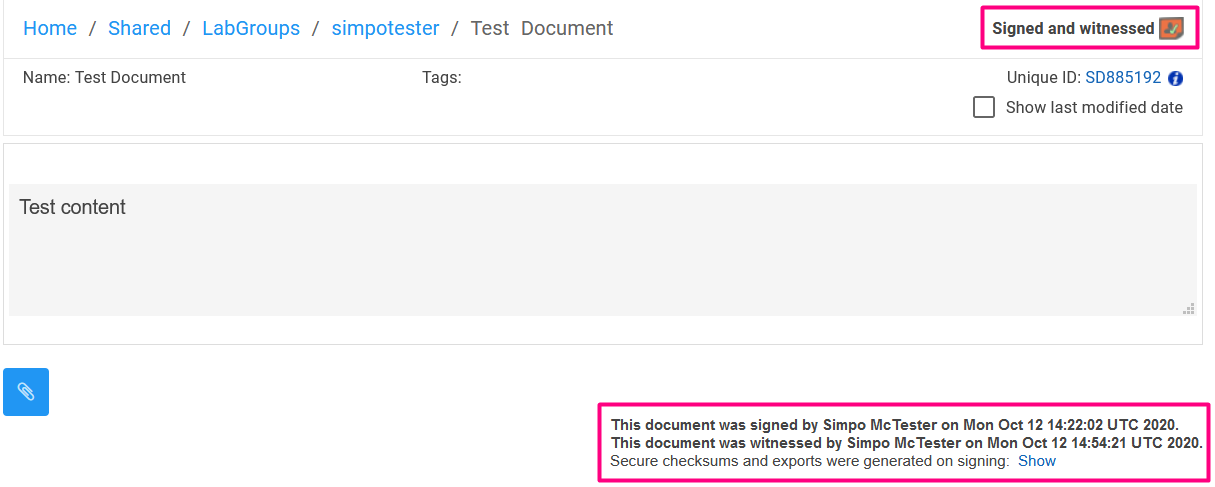
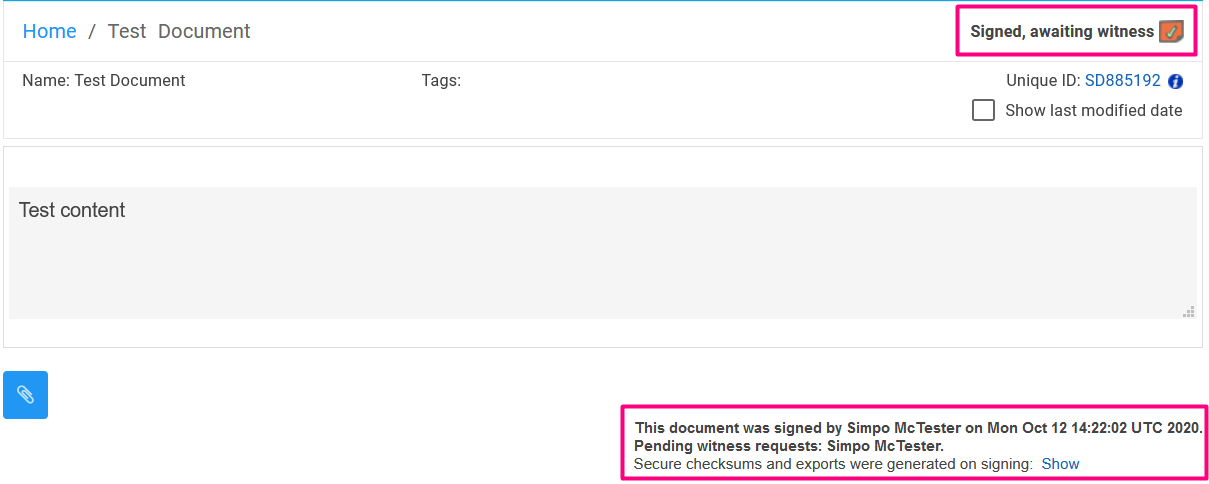
- The document will no longer be editable and its status will be “Signed”, with information provided in the top-right and bottom-right corners.

Witnessing
To witness a document that you have been invited to witness:
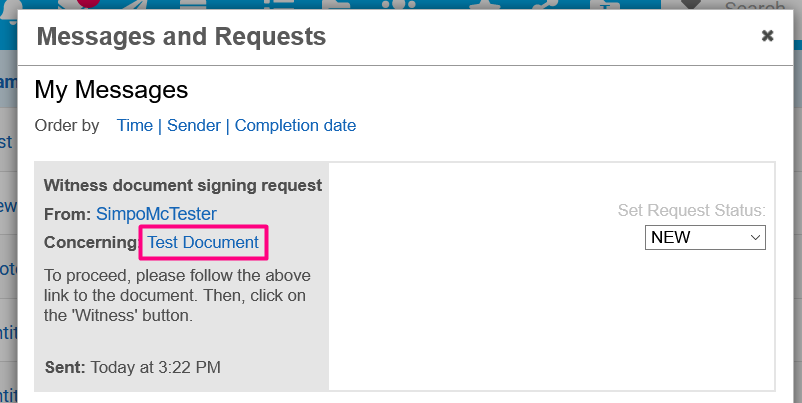
- Click on Received Messages in the Workspace toolbar

- Click on the document link in the message. You can also decline the request right away using the Set Request status dropdown on the right.
- Click on on the Witness button in the document toolbar. The button will only appear if the document has been signed, the user was selected as a witness, and if the document has not been witnessed previously by that user.
- A dialog appears, and you can:
- Agree to witness the work
- Decline the request to witness and supply a reason why in the textbox that appears
- After choosing an option, click on Witness

- Type in your password to authorise, and click on Proceed to complete witnessing
- The document status is changed from "Signed" to "Signed and Witnessed".
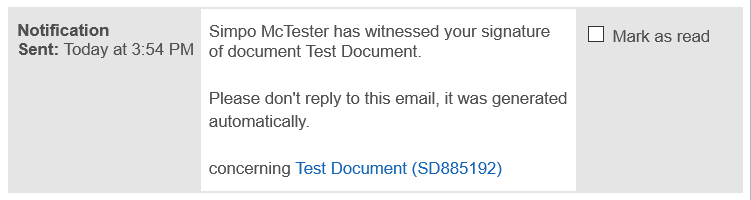
Additionally, the original signer will receive a notification that the document has been witnessed.
View the status of a Document
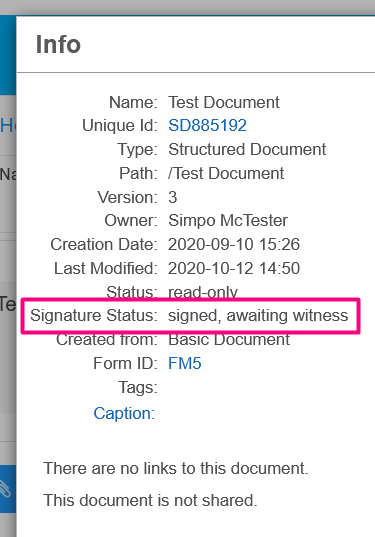
- Click on the File Info button. Note the signed icon next to signed documents.

- The Signature Status section will contain information on the signing & witnessing status of the Document.
- Detailed information is available when the Document is open.
When a user with access to the document clicks the "Show" link in checkum status message at the bottom of a signed page, they are given the option to download a special verison of the document in either .pdf, .xml or .html format.
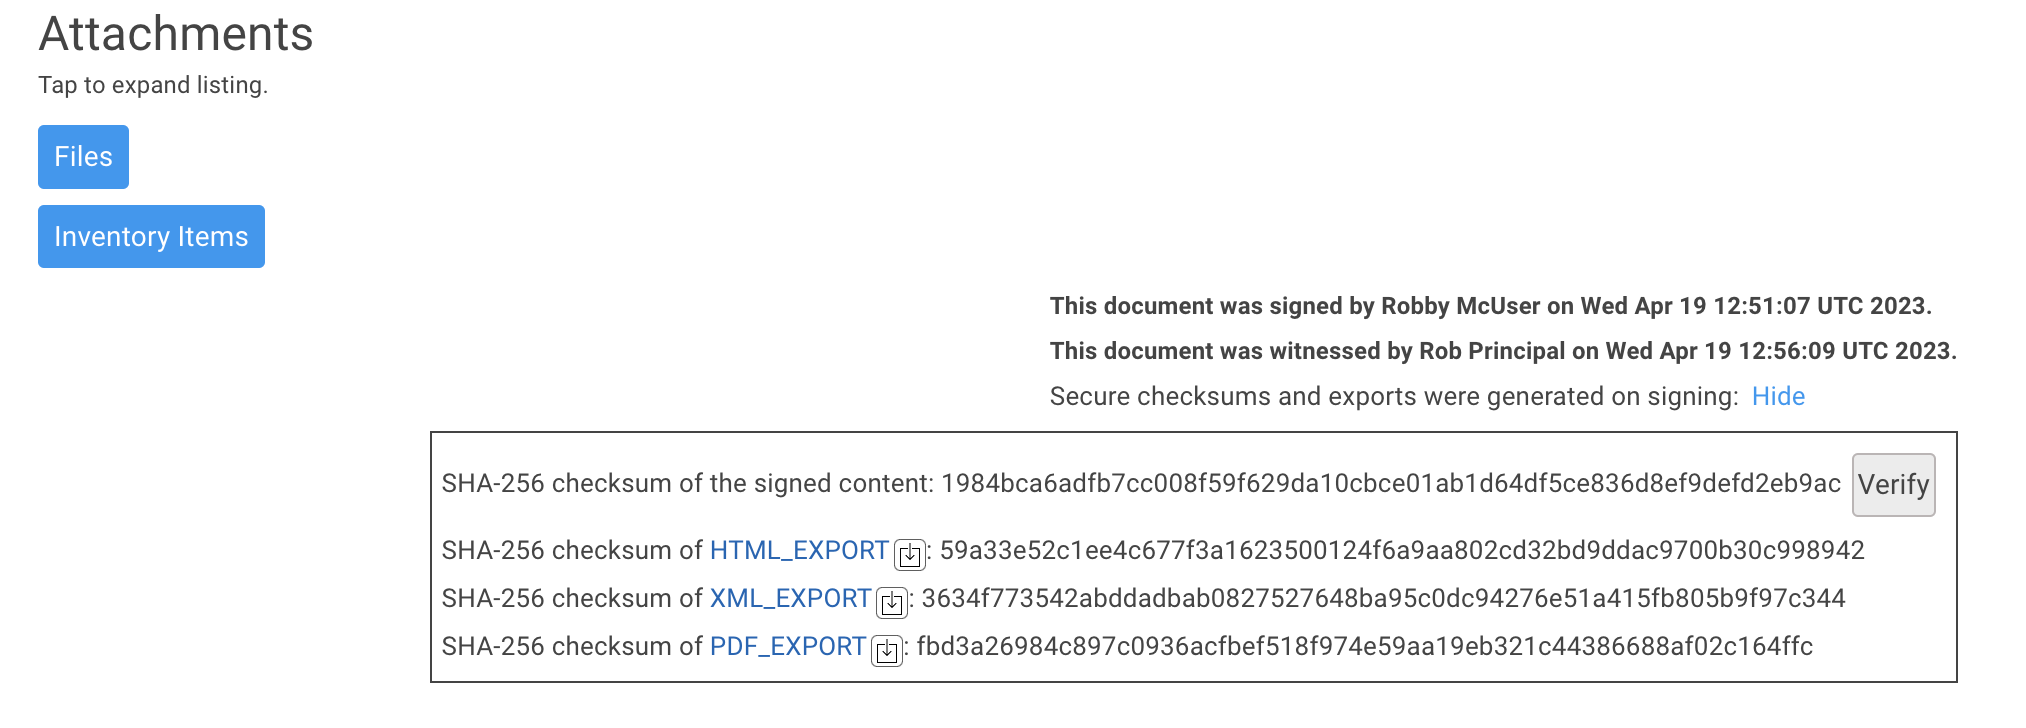
These versions are accompanied by SHA-256 checksum values that can be used to verify that a document has not been changed subsequent to signing, even if the exported version is stored outside of RSpace.
Notifications
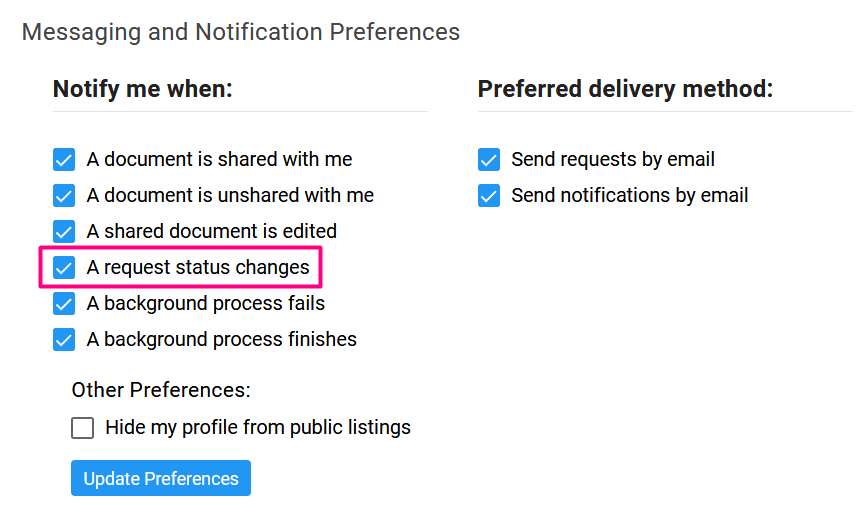
If you want to receive notifications about the witnessing process, navigate to My RSpace > My Profile, and ensure "A request status changes" is checked under Messaging and Notification Preferences.
Reversing the signing or locking process
It is not currently possible to "un-sign" or unlock a signed document. If you make a mistake and you need to make changes to a signed document, you can select it and choose "duplicate" in the workspace. This will create a new unsigned COPY that you can edit. A good best practice would be to add a link to the new copy, linking it to the original with an explanation of why it need to be duplicated and edited. Once corrections have been made you can reinitiate the signing process with the new copy.
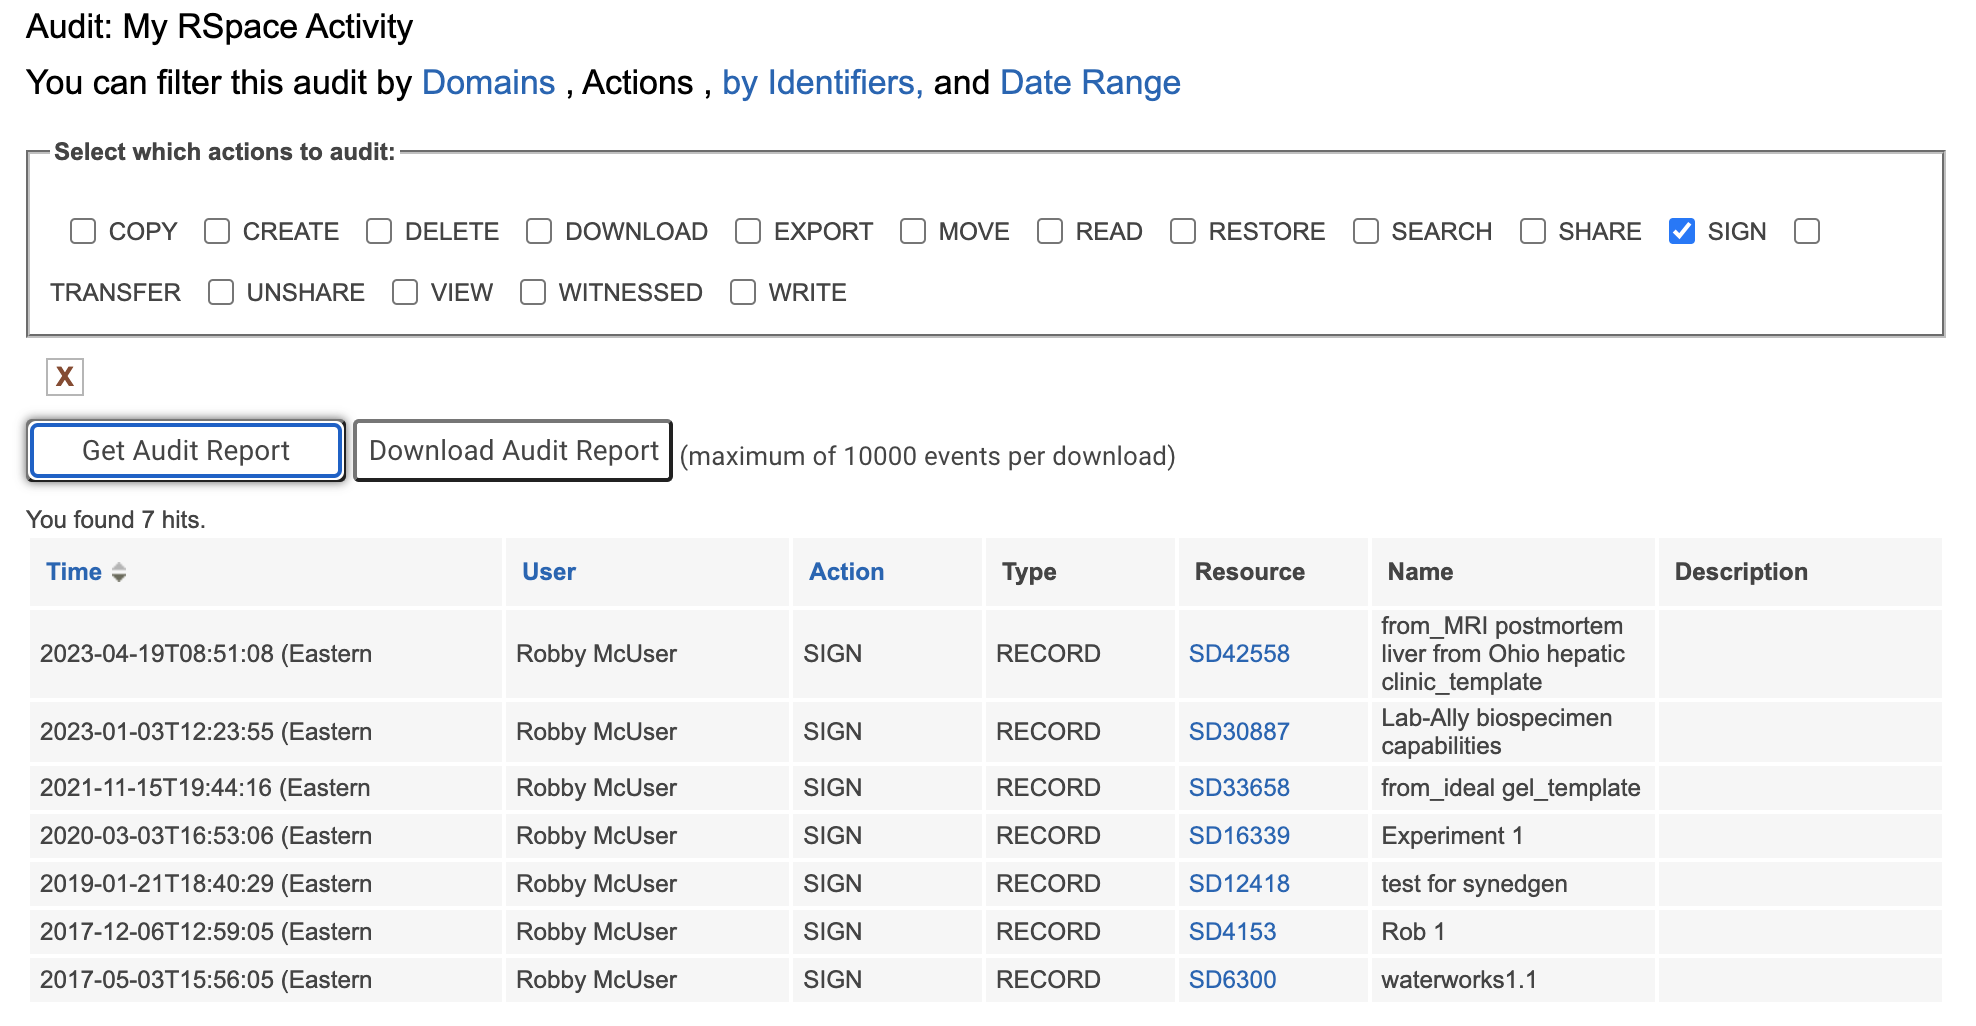
Locating recently signed documents
You can quickly locate a list of signed documents you have access to by using the My RSpace > Audit area and selecting the Actions > Sign filter: